Using the TabbedReparentContainer
This example shows a web application and a Windows application reparented in the TabbedReparentContainer. To create this example, perform the following steps:
Add a web adapter to a project, set the Path and interrogate the application as usual.
Add a Windows adapter to the project, set the StartPage and interrogate the application as usual.
Add a Windows form to the project.
Add the TabbedReparentContainer component from the Toolbox tab to the Windows form.
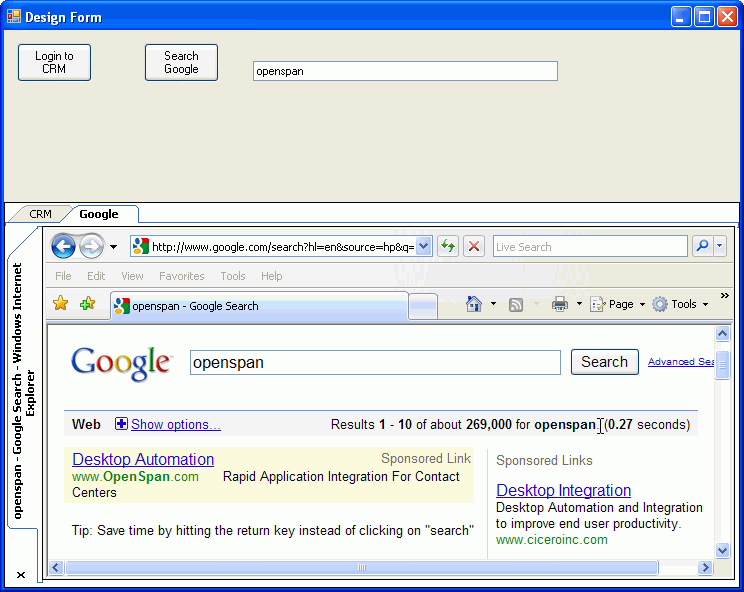
Use the Dock property of the TabbedReparentContainer to specify how you want the control to appear in the Windows form. In this example, the Dock property is set to Bottom.
Use the DesignComponentConfiguration property to select the adapters you want to display in the control. The Windows and web applications are added to the container by default.
Use the ResizeConfiguration property to define how to fit the reparented application windows in the control. By default, the resizable applications are set to resize to fit the control and non-resizable windows are set to display in the center of the control.
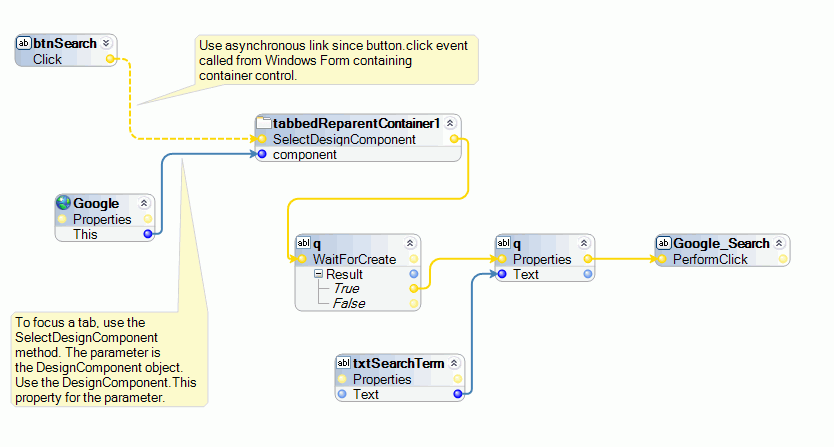
Use the TabConfiguration property to define how application window tabs appear in the control. In this example, the adapters (design components) appear as tabs along the top of the control and the application windows appear as tabs on the left side of the control.
Add an automation to establish integration functions between the applications.
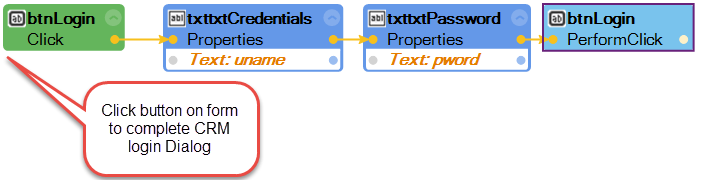
Note: Remember to link events handled on any Windows form asynchronously, including reparented windows. This is particularly important when linking events between controls on the same form.
Save and run the application.
Here is an example of CRM and Google running the TabbedReparentContainer: